
 EN
EN
 English
 中文简体
中文简体
Home / News / Industry News / How to Clean the Cage: Dog, Cat, Bird, and Small Animal Cleaning Guide
News


How to Clean the Cage: Dog, Cat, Bird, and Small Animal Cleaning Guide
 2026.09.21
 Industry News
Content
How often you clean the cage is just as important as how you clean it. The goal is not to clean the cage over and over; the goal is to clean the cage consistently and correctly so that your pet stays healthy and your enclosure lasts longer.
This guide gives you a practical routine for dog crates, cat cages, bird cages, and small-animal hutches. It also explains what cleaning supplies are safe, which cage designs reduce work, and how to avoid common mistakes that damage the finish. If you sell pet enclosures or manage a pet facility, these same steps apply whether you are a wholesaler, a retailer, or an end user.
Why Regular Cage Cleaning Is Not Optional
Droppings, urine, and uneaten food break down into ammonia and other irritants. In a closed indoor cage, those gases accumulate quickly. Birds have especially sensitive lungs; dogs and cats can develop contact irritation on their paws and noses. Small animals such as rabbits and guinea pigs often develop sore hocks when they sit on damp, dirty bedding.
Dirt also shortens the life of a cage. Rust can start in scratched areas, powder coating can crack, and wooden frames absorb odor and moisture. When you clean the cage regularly, you are also inspecting it: a loose hinge, a sharp edge, or a damaged tray can be corrected before it becomes a safety problem.
For professional buyers, hygiene is a supply-chain issue. A cage that is difficult to clean creates extra labor. Durable, washable materials reduce turnaround time in shelters, boarding facilities, and breeding operations. That is why our production side pays close attention to removable trays, smooth surfaces, and corrosion-resistant coatings.
The most damaging cage dirt is not always visible; ammonia vapor is strongest at pet level, so regular cleaning is protection for both the pet and the enclosure.
How Often Should You Clean the Cage?
Cleaning frequency changes with species, cage size, and number of pets. A single dog that is crate-trained for short periods will need a different schedule than a pair of rabbits. High humidity and warm temperatures make bacteria multiply faster, so adjust intervals accordingly. Small cages also concentrate waste quicker than large ones. The chart below compares typical deep-cleaning intervals to help you build a realistic routine.
Deep-cleaning interval by pet cage type
Birds with sensitive lungs need the shortest deep-cleaning cycle because their droppings contain uric acid and airborne dust. Dogs that spend only part of the day in a crate can often go a full week between deep washes. Cats using a litter cabinet should have the entire enclosure wiped down at least every two weeks, with litter changed daily. Rabbits and guinea pigs produce large amounts of urine, so a five-to-seven-day cycle is safer. If you keep multiple pets in one enclosure, cut the interval in half. If you use waterproof bedding or disposable cage liners, you may extend the cycle by two or three days. A strong indoor air flow and low humidity also slow bacterial growth. However, weekly spot cleaning and daily removal of food scraps never change. The chart should not replace your own judgment, especially if you see visible buildup before the interval ends. Straighter and longer bars mean longer recommended intervals; do not use that as an excuse to skip routine cleaning.
| Task | Frequency | Why it matters |
|---|---|---|
| Spot-clean droppings | Daily | Limits odor and bacterial load |
| Wash tray and liners | Weekly | Removes urine scale and biofilm |
| Disinfect the empty cage | Monthly | Kills persistent pathogens |
| Inspect hardware and surfaces | Monthly | Catches rust, cracks, and sharp edges early |
Build your calendar around the pet, not the product. A smaller cage with multiple animals needs more frequent cleaning than a large single-pet enclosure.
The Best Cleaning Supplies for Pet Cages
Use a pet-safe disinfectant or a diluted white vinegar solution for routine washes. Hot soapy water and a non-scratch scrub brush remove most debris. Microfiber cloths trap dust instead of moving it around. For stubborn droppings, soak the area for a few minutes before scrubbing.
Avoid bleach unless it is diluted specifically for veterinary environments and rinsed completely. Ammonia-based glass cleaners can irritate the respiratory tract, and solvent cleaners may damage powder-coated or wooden surfaces. Steel wool often leaves small fragments behind, which can injure paws if they are not rinsed away.
| Safe to use | Use with caution or avoid |
|---|---|
| Pet-safe disinfectant, diluted white vinegar, warm soapy water, microfiber cloths, non-scratch scrub brushes, plastic scrapers | Bleach (unless very diluted and fully rinsed), ammonia, strong solvent cleaners, steel wool, scrapers that leave scratches |
For commercial buyers, consistent cleaning results depend on standardized supplies. Many pet product suppliers and wholesalers now bundle cleaning accessories with cages, which helps end users maintain the enclosure correctly from day one.
The safest cleaning product is the one that removes organic waste without leaving a toxic residue.
How to Clean the Cage Step by Step by Pet Type
Bird Cage Cleaning
Birds produce fine dust and dry droppings that become airborne easily. Use a dedicated vacuum or a damp cloth first to avoid spreading particles. After you remove your bird, take out all perches, toys, and food bowls.
- Scrape off hardened droppings with a plastic scraper, not a metal one.
- Wash the tray and bars with hot water and a pet-safe disinfectant.
- Soak perches and toys in warm soapy water for ten minutes.
- Rinse everything thoroughly and air-dry before placing the bird back.
If your bird cage has a removable villa-style partition, clean each section separately so disinfectant reaches corners and crevices.
Dog Crate Cleaning
For metal dog crates, start by removing the dog, bedding, and food bowls. Lift out the plastic tray if present. A simple daily wipe saves a deep clean later.
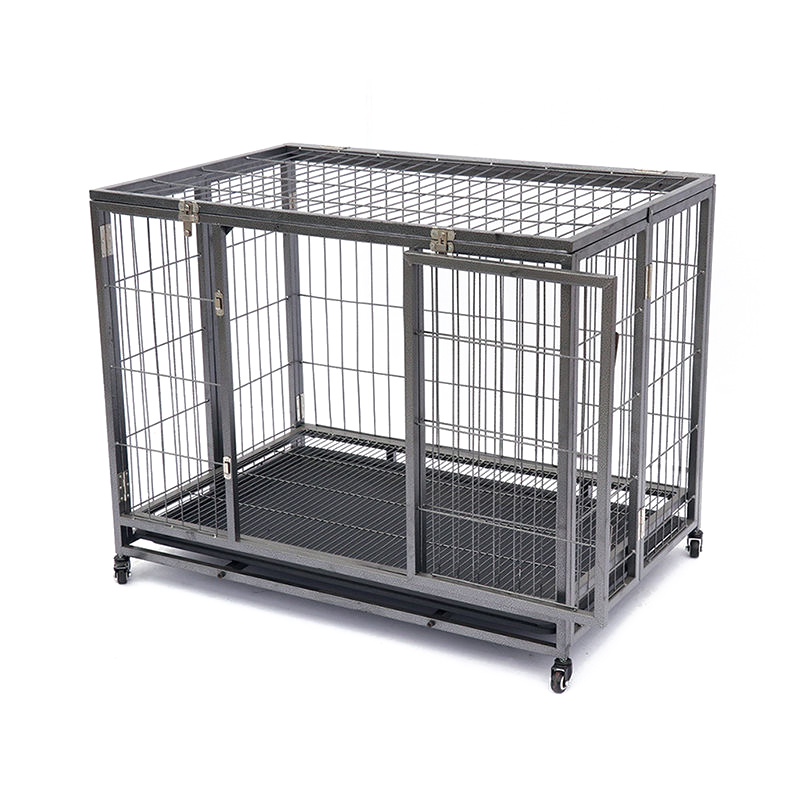
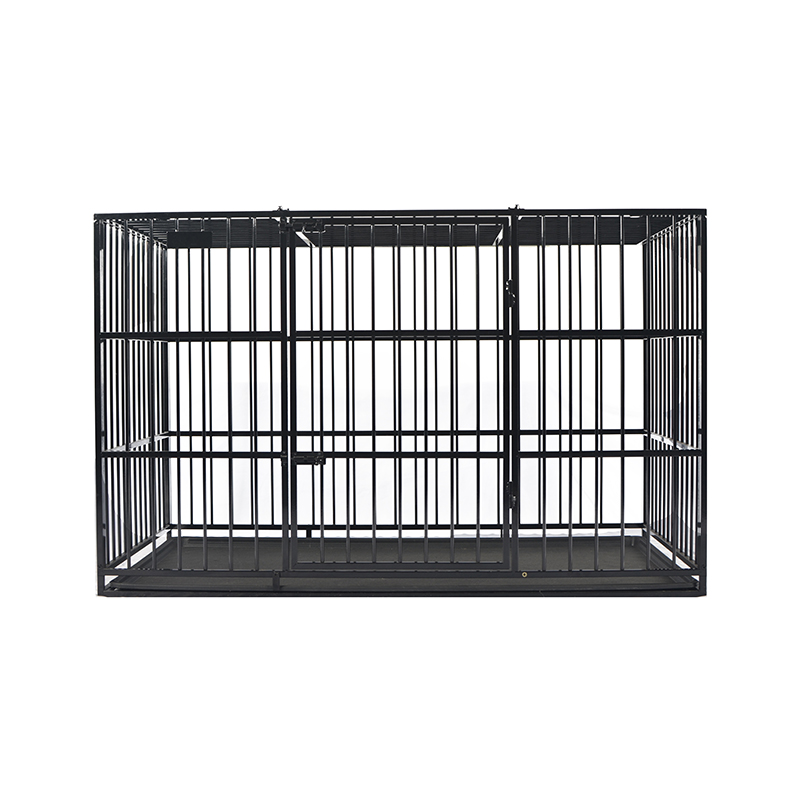
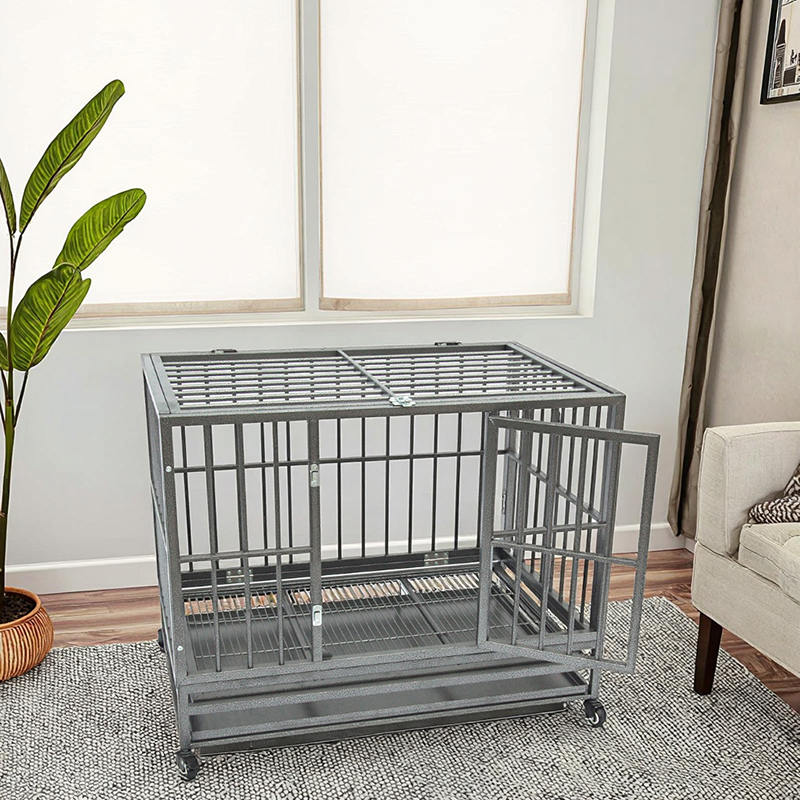 Open Top Heavy Tube Metal Dog Cage with Wheels and TrayThis reinforced metal crate features an open top, dual doors, a leak-proof pull-out tray, and four swivel wheels, making it practical for easy cleaning and moving during regular maintenance.View Product →
- Brush or vacuum loose hair and dirt from the tray and floor.
- Wash the tray and wire panels with mild dish soap and warm water.
- Reach the interior corners using the top or side access; this avoids bending the wires.
- Rinse with a damp cloth and dry all surfaces before reinstalling the tray.
To simplify regular maintenance, look for an open-top metal dog cage design that lets you reach the bottom without dragging the entire crate from the wall.
Cat Cage Cleaning
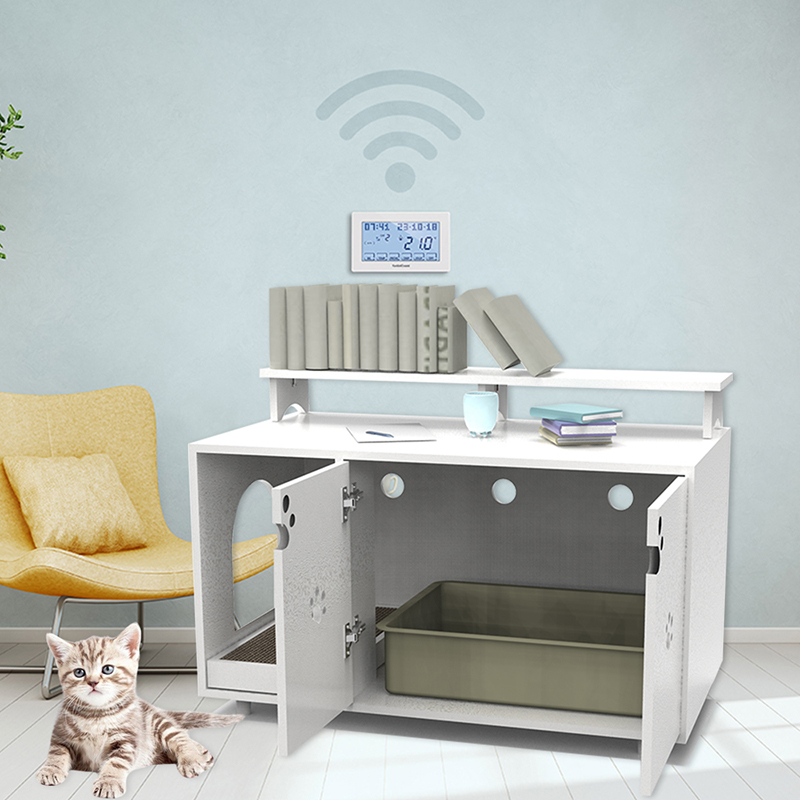
Furniture-style cat cages combine a litter cabinet with side tables or storage. The wood surfaces need dry or lightly dampened cleaning, while the inside litter area needs a wet wash.
- Remove all accessories, litter drawer, and scratching boards.
- Wipe down wooden exterior with a barely damp microfiber cloth.
- Clean the internal litter cabinet with a cat-safe disinfectant; do not soak particle board or MDF parts.
- Allow the cabinet to dry completely before adding fresh litter and returning your cat.
Cat owners who choose a hidden-washroom furniture-style cage reduce litter scatter and make daily cleaning faster because the waste cabinet is separated from the resting area.
Small Animal Cage Cleaning
Rabbits, guinea pigs, and chickens create high moisture and strong odors. A weekly full wash is often necessary, plus a midweek spot check.
- Move the animal to a secure temporary pen.
- Empty bedding, nesting material, and feed leftovers into a compost bin if possible.
- Scrub the cage floor and wire panels with a stiff brush and pet-safe detergent.
- Rinse thoroughly and dry in a ventilated area before adding fresh litter.
For outdoor hutches, include a UV-protective cover and check for mold under the roof.
Match your cleaning technique to the material. Metal tolerates soaking; wood and composite panels need dry or lightly damp methods.
Design Features That Make Cleaning Easier
Not all cages are created equal. The easiest enclosures to maintain share a few features: removable trays, open tops, smooth-welded corners, and corrosion-resistant powder coating. As a manufacturer, we design these details into our products for both home users and commercial buyers.
- Removable tray: lets you empty waste in one step.
- Open-top or front access: lets you scrub interior without removing the whole structure.
- Foldable panels: make it possible to wash or hose the cage flat.
- Powder-coated or stainless steel surfaces: resist rust and bacterial buildup.
- Furniture-style finishes: many pet owners prefer a wooden exterior that can be wiped like ordinary furniture.
If you are browsing new pet furniture arrivals, keep cleaning access in mind as much as aesthetics.
For shelter and retail buyers, procurement decisions should include a simple question: can staff disassemble this cage in less than two minutes? Fast breakdown and reassembly directly affect labor costs in high-volume facilities.
Cleanability is a design attribute. The best cage is the one that allows every corner to be seen and wiped without awkward reaching.
FAQ: Cleaning the Cage Properly
How often should I clean the cage?
Spot-clean droppings every day, wash the tray and toys weekly, and disinfect the whole enclosure at least once a month. Increase frequency for birds, young animals, or sick pets.
Can I use bleach to disinfect a pet cage?
You can use a very diluted bleach solution if the cage is thoroughly rinsed and air-dried afterward. Do not use bleach on wooden, porous, or powder-coated surfaces that may absorb it. For birds, avoid bleach indoors because fumes are highly irritating.
What is the fastest way to clean a cage?
Remove the animal, lift out the tray, and scrape or wipe large debris first. Then use a spray bottle with a pet-safe cleaner, scrub for a minute, and wipe dry. The fastest routine is daily spot cleaning, because it prevents hardened buildup.
How do I clean a wooden cage without damaging it?
Use a barely damp cloth and a cleaner designed for wood or sealed surfaces. Never submerge wooden panels. Remove moisture quickly and keep the cage in a dry, ventilated area to prevent swelling and odor absorption.
Why does the cage smell even after cleaning?
Odor usually comes from porous materials, hidden crevices, or old bedding. Check under trays, in seam joints, and between double-wall panels. Soak removable parts in warm soapy water, and replace any lining that has absorbed urine deeply.
Persistent odor is a sign that the cleaning method for that cage type needs to change, not that the cage is permanently dirty.
Build a Cage Cleaning Routine That Lasts
A clean cage is not a luxury; it is a basic requirement for pet health and product longevity. Start with daily spot cleaning, keep a weekly washing day, and do a deep disinfecting session each month. Choose cages with removable trays, open access, and durable finishes. When you plan your cleaning schedule around the pet species and cage design, the task becomes faster and odor stays manageable.
If you are evaluating new enclosures, ask for specifications that affect cleaning: tray depth, material thickness, coating quality, and access panel placement. These details separate a low-maintenance cage from one that is difficult to clean for years.
The shortest cleaning routine is the one you will actually repeat. Choose equipment that cooperates.
Related Products
Your pet deserves good, Contact now.
Whether you want to become our partner or need our professional guidance or support in product selections and problem solutions, our experts are always ready to help within 12 hours globally.
 CONTACT US

QUICK LINKS
PRODUCTS
-
Address
- Room 501,Unit 1 ,Buliding 6,Wuyi Guoji Xincheng,No.379,Zhuxi Avenue,Jianyang District,Nanping City, Fujian Province.
- No. 139-6 , Tongyu Middle Road, Nantong, Jiangsu, China
-
Mobile
- +86-13616986006
-
E-mail :

Copyright © 2025 Pet Home (Haian) Co., Ltd All Rights Reserved. Custom Pet Cages Manufacturers OEM/ODM Pet Household Products Factory

